
Removing Cement, Paint and Renovation Dust Safely
Technique-by-surface (tile, wood, laminate, paint, glass, marble) plus why DIY scrubbing damages new finishes.
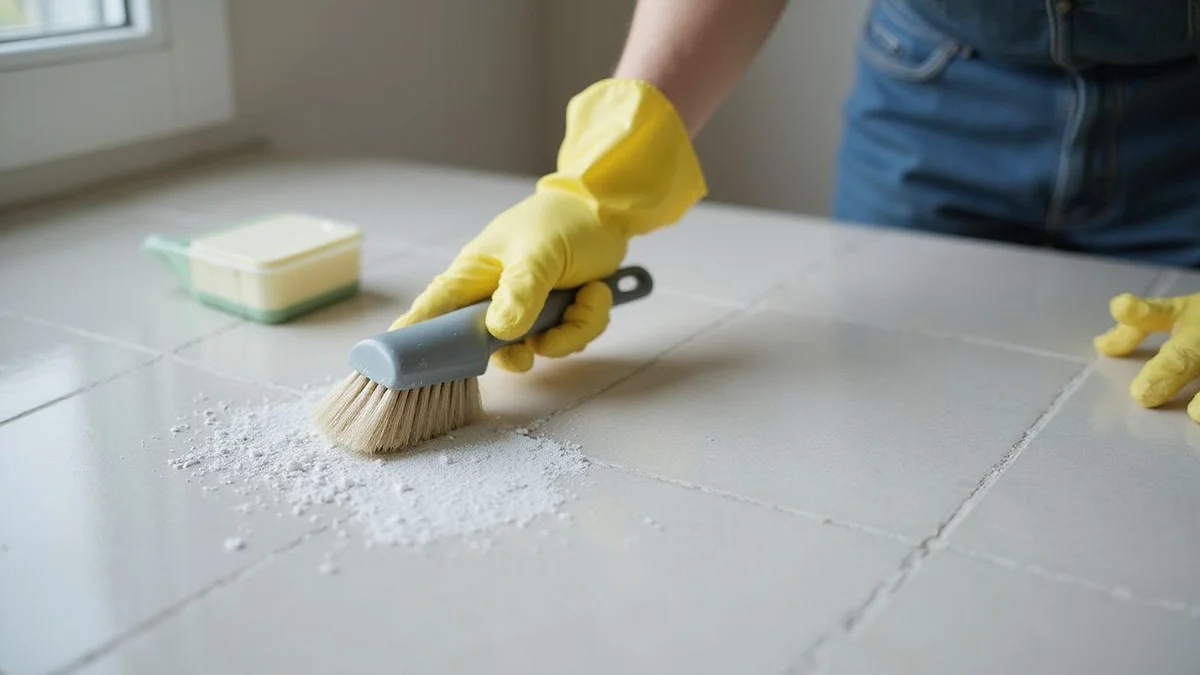
We understand the challenge when you need to safely remove cement paint renovation dust after a major Klang Valley home upgrade.
Renovation residue is not your typical household dirt. It is a stubborn mix of cement particulate, paint solids, adhesive cure, and silicone overspray sitting on fresh surfaces. Our team consistently sees DIY damage happen during that very first cleanup attempt.
People often use the wrong solvent or start cleaning before the materials have fully cured. You need a reliable plan to protect your expensive new finishes. The 2026 data shows that replacing damaged premium surfaces costs significantly more than proper initial maintenance.
We will break down the exact surface-by-surface techniques used by professionals today. This guide gives you the practical steps to avoid common damage pitfalls. Let us look at the specific materials and explore practical ways to respond.
The damage-risk hierarchy
The most easily damaged renovation surfaces include polished marble, fresh paint, and lacquered woodwork. Our experience shows that these premium finishes require the most cautious approach to prevent permanent etching or micro-scratching.
| Surface Type | Risk Level | Common Damage Mode |
|---|---|---|
| Polished marble | Extremely High | Etches with acidic cleaners, scratches easily. |
| Fresh paint (first 7-14 days) | High | Smudges, marks, peels under heavy scrubbing. |
| Lacquered woodwork | High | Strips with strong solvents, marks with abrasives. |
| Polished concrete | Medium-High | Sealer dissolves with incorrect cleaning products. |
| Engineered wood floors | Medium | Water marks quickly, varnish stripping risk. |
| Hardwood floors | Medium | Vulnerable to sitting water and varnish marking. |
| Polished porcelain tile | Medium-Low | Micro-scratches with heavy-duty plastic scrubbers. |
| Glass and mirrors | Low | Limestone deposits form if hard water sits. |
| Standard ceramic tile | Low | Highly resilient against most common chemicals. |
| Vinyl and laminate floors | Very Low | Highly forgiving during standard washing. |
The further down the list a surface sits, the more forgiving it is during a deep clean. We see most damage stories originate from the top half of this hierarchy.
Cement splatter removal
You must scrape wet cement within 24 hours of a splatter, while hardened cement requires a dedicated pH-neutral chemical remover and mechanical agitation. Our technicians always tackle cement splatter removal immediately to prevent it from bonding with porous surfaces.
This fast-acting material dries incredibly quickly in the Malaysian heat.
Standard ceramic tile
- Test any product on a hidden tile patch first.
- Apply a local pH-neutral product like 3R Cement Remover.
- Allow 5 minutes of contact time for the chemical to work.
- Brush gently with a stiff plastic brush.
- Rinse the area thoroughly with clean water.
Do not use acid-based products like vinegar or muriatic acid. Our field tests confirm that acidic solutions will permanently etch your grout lines.
Polished porcelain or marble
- Apply a pH-neutral remover exclusively.
- Wipe with a soft microfiber cloth instead of a brush.
- Use multiple gentle passes to lift the residue without digging.
Marble requires extra caution because many commercial neutral products still contain mild acids. We highly recommend consulting a stone specialist before applying any chemical to premium imported marble.
Wood floors
Never use chemical removers on real wood surfaces.
- Dampen a microfiber cloth with warm water.
- Wipe the splatter gently to let the moisture soften it.
- Slide a plastic scraper at a very low angle to pop the cement off.
Our crews use this exact moisture method to protect expensive Merbau or teak flooring.
Concrete floors (sealed)
- Select a dedicated pH-neutral floor cleaner.
- Scrub with a stiff bristle brush.
- Avoid acidic products to protect the fresh sealer.
Freshly sealed concrete reacts poorly to harsh chemicals. We always double-check the sealer curing time before aggressive scrubbing begins.
Paint residue and drips
Safe paint residue cleaning depends entirely on letting the paint fully cure first, which takes 7 days for water-based formulas and up to 14 days for oil-based paints. Our professionals wait for this cure time to pass so the drips harden and snap off cleanly.
On tile, glass, metal
- Wait 7 days for water-based paints like Nippon Weatherbond to cure completely.
- Slide a plastic razor scraper across the surface at a low angle.
- Dab stubborn drips with a small amount of paint thinner on a cloth.
- Test the paint thinner for surface compatibility first.
Never use metal razor blades on glass surfaces. We have seen metal blades leave permanent micro-scratches that cannot be polished out.
On wood floors
- Wait for the paint drop to reach full cure.
- Dampen a cloth with warm water and rub the spot.
- Apply mineral spirits sparingly on varnished wood for stubborn drips.
Chemical paint strippers will destroy the factory finish on engineered floors. Our team relies entirely on gentle friction and mild mineral spirits for wooden surfaces.
On adjacent walls (paint splattered onto another colour wall)
Accidental paint splatters on a different coloured wall require a delicate touch.
- Wipe gently with a damp microfiber cloth.
- Do not scrub the wall aggressively.
- Consider a simple paint touch-up if the splatter is heavy.
Heavy scrubbing creates a permanent sheen difference on the wall surface. We often advise clients that a quick touch-up is safer than aggressive removal.
Adhesive residue from masking tape
You can safely break down stubborn masking tape residue using common household solvents like rubbing alcohol or warm soapy water. Our climate in Selangor often causes tape adhesives to melt and bond aggressively to fresh surfaces.
- Metal and glass: Apply rubbing alcohol on a soft cloth.
- Painted walls: Dab gently with warm soapy water and avoid rubbing.
- Finished wood: Clean with warm soapy water and dry immediately.
- Natural stone: Use a pH-neutral cleaner after a small spot test.
Commercial solvents like WD-40 work wonders on metal window frames. We recommend washing the area with dish soap immediately afterward to remove the oily residue.
Silicone caulk overspray
Fresh silicone overspray peels away easily within the first 24 hours, but fully cured silicone requires a specialized digestor solvent. Our technicians carry dedicated silicone solvents to handle bathroom and kitchen renovations efficiently.
- Fresh applications (under 24 hours): Peel the caulk off gently using your fingernails or a plastic scraper.
- Cured material (over 24 hours): Apply a specialty silicone digestor solvent like Selleys Silicone Remover.
- Porous surfaces (raw wood, unpainted plaster): Accept that the residue often cannot be fully extracted.
For tile and glass, apply the silicone digestor and wait 10 minutes. Scrape the softened material gently with a plastic scraper.
Fine construction dust
Standard cleaning methods fail against renovation dust because microscopic particles simply float back into the air and settle later. Our regional PM2.5 levels in Selangor are already a major health concern, and indoor construction dust makes the air quality significantly worse.
Why your home vacuum fails
Standard vacuums recirculate fine particulate directly through their exhaust systems. After 30 minutes of vacuuming construction dust, you have just redistributed a fine haze throughout your entire home.
We see many homeowners burn out standard vacuum motors by sucking up heavy gypsum dust.
What actually works
A structured approach using the right equipment guarantees a clean environment.
- Use a sealed system HEPA-rated vacuum equipped with a HEPA 13 filter.
- Clean vents and light switches with specialized detail nozzles.
- Wipe surfaces with a damp microfiber cloth instead of paper towels.
- Follow a strict top-down cleaning sequence.
Paper towels simply smear the particulate matter around rather than lifting it. Our cleaners always start with ceiling fans and work down to the floors last.
The two-pass rule
A single cleanup pass only removes the initial layer of surface dust. Airborne particulate from cement and drywall will continue to settle for 4 to 12 hours afterward.
We strictly enforce a two-pass system to capture this secondary settling. Many DIY cleanups fail entirely because the crucial second pass gets skipped.
Why DIY attempts to remove cement paint renovation dust damage new finishes
Aggressive DIY scrubbing typically causes permanent damage through chemical etching, micro-scratching, solvent staining, or water marking. Our assessment teams find that fixing these four common mistakes often costs more than the original installation.
- Chemical Etching: Acidic liquids dissolve the protective layers on grout, marble, and polished concrete.
- Micro-scratching: Abrasive pads create fine scratch patterns that permanently alter how the surface catches light.
- Solvent Staining: Harsh chemicals like acetone or paint thinner lift the factory colour from painted walls.
- Water Marking: Sitting water left on engineered wood or MDF skirtings creates swollen tide marks.
Each one of these errors is almost impossible to reverse once it occurs. We typically have to advise clients to replace the affected area entirely.
When to bring in specialists
You should hire professionals if your property features delicate surfaces like polished marble, engineered wood, or premium lacquered cabinetry. Our specialized equipment handles the hazardous cleanup while protecting your valuable new upgrades.
Consider calling in help if your renovation included:
- Polished marble or high-end natural stone.
- Newly sealed or polished concrete floors.
- Engineered wood flooring systems.
- Premium lacquered custom cabinetry.
- Custom wall paint without leftover touch-up cans.
If your home matches this list, consider our post-renovation cleaning service rather than a risky DIY attempt. You want to remove cement paint renovation dust without creating expensive repair bills. The cost of replacing damaged finishes far exceeds the cost of a professional cleaning session.
Take a moment to See what’s included in our post-renovation service or book a clean today.
Related service
Post-Renovation Cleaning
Two-stage cleanup after a renovation - gross debris first, then a HEPA-vacuum and detail pass that removes the fine cement dust home vacuums miss.
Learn about Post-Renovation Cleaning